

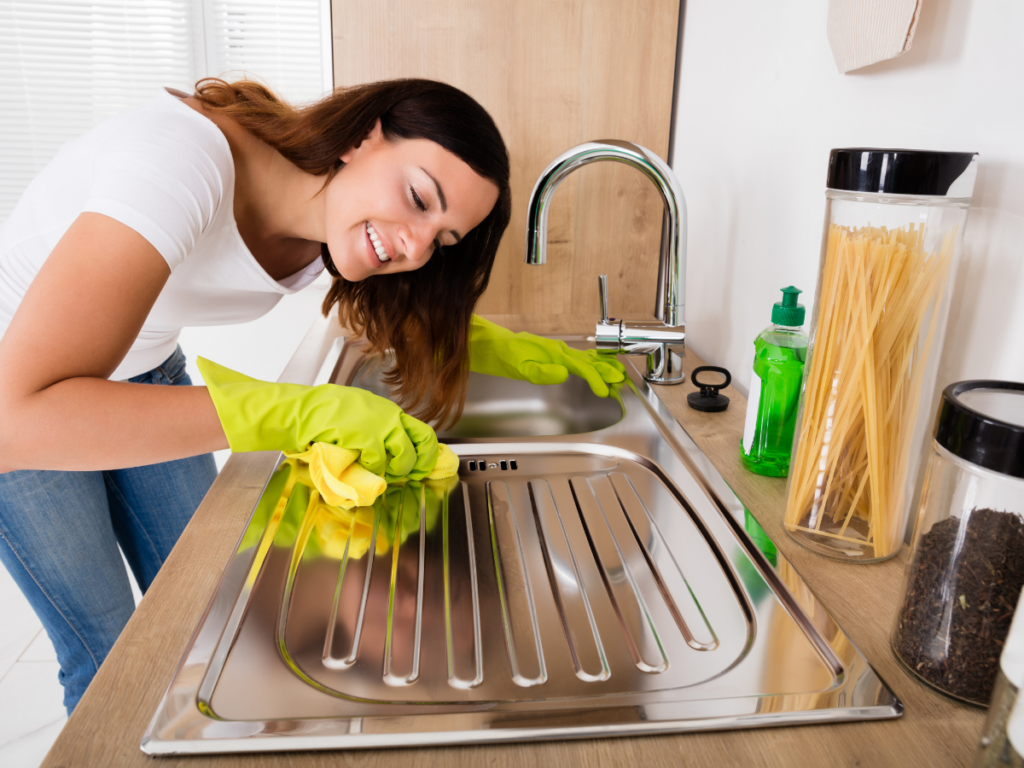
You wipe down your stainless steel, step back, and somehow it looks streakier than it did before. Fingerprints have turned into smudges, water spots are still visible, and the polished finish you were expecting is nowhere to be found.
The good news is that getting a spotless finish often comes down to technique rather than stronger cleaning products. The right stainless steel cleaning tips can help you tackle grease, fingerprints, water marks, and everyday buildup without leaving behind cloudy residue or damaging the surface.
How you wipe, what you use, and even the direction you clean can make a noticeable difference. Whether you’re tackling appliances, sinks, or fixtures, learning a few simple methods can make stainless steel easier to maintain and help you achieve that clean, polished, streak-free finish more consistently.
Stainless Steel Cleaning Methods for Grease, Grime, and Buildup
Preparing Stainless Steel for Safe Cleaning
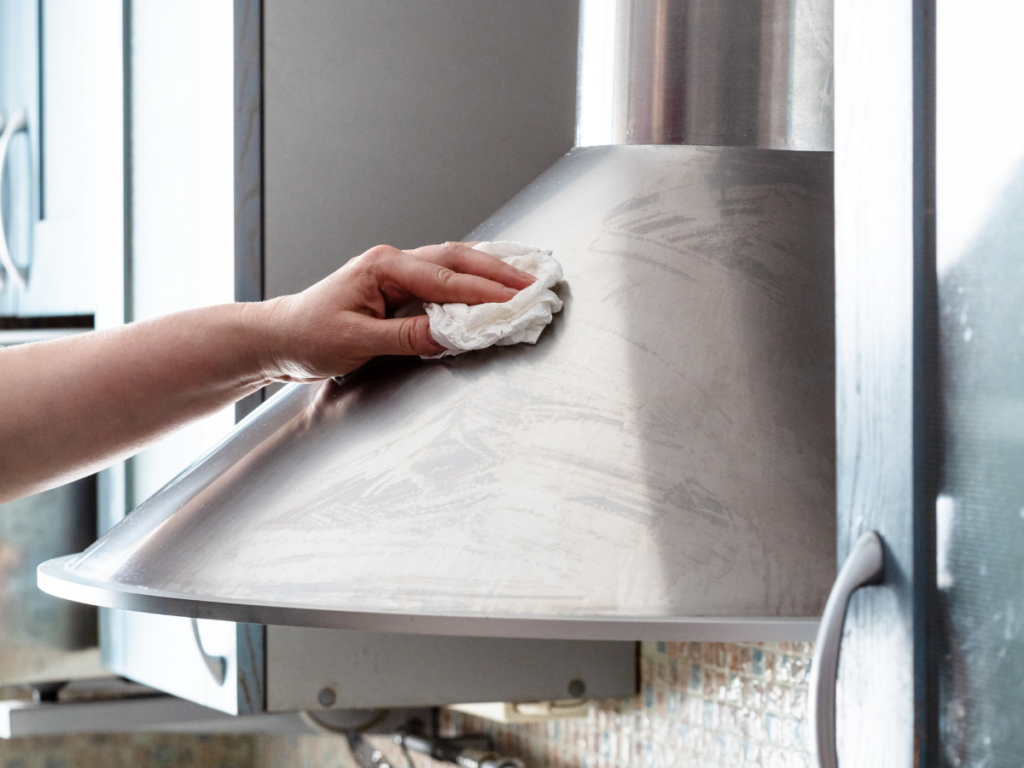
Good stainless steel cleaning starts before the first wipe. The most important preparation is knowing what kind of finish you are working with, checking the appliance manufacturer’s instructions, and gathering tools that will not scratch or dull the surface.
That matters because “stainless steel” does not always mean one identical finish. Traditional stainless, fingerprint-resistant stainless, and black stainless can have different coatings and care requirements, so a method that is safe for one appliance may be too aggressive for another.
Why Should You Check the Owner’s Manual First?
The appliance manual should be your first reference because manufacturers often specify which cleaners, cloths, and techniques are appropriate for that finish.
Some also warn against products such as bleach, ammonia, abrasive powders, steel wool, or acidic cleaners because they can scratch, discolor, or damage protective coatings.
This is especially important on fingerprint-resistant or coated stainless finishes. These surfaces may look like ordinary stainless steel but can have a clear or colored coating that requires gentler cleaning than traditional brushed stainless.
If you no longer have the printed manual, look up the model number on the manufacturer’s website before trying a new cleaner. A few minutes of checking can prevent permanent damage caused by using a product that is technically safe on bare stainless but not on the finish applied to your appliance.
What Supplies Should You Gather?
Most routine stainless steel cleaning does not require a large collection of products. For light fingerprints, dust, and everyday smudges, a small set of non-abrasive supplies is usually enough:
- Clean microfiber cloths
- Warm water
- Mild dish soap or another manufacturer-approved cleaner
- A second dry microfiber cloth for buffing
- A soft, non-abrasive sponge if the appliance instructions allow one
- A stainless steel cleaner approved for the specific finish, when needed
Avoid reaching automatically for steel wool, scouring pads, gritty powders, or stiff brushes. These tools can leave visible scratches, especially on polished or coated surfaces.
A broader deep cleaning routine for kitchen appliances and surfaces can include stainless steel care, but the cleaner used on surrounding countertops, sinks, or cooktops should not automatically be carried over to the appliance exterior.
Do You Need a Special Stainless Steel Cleaner?
Not always. Many appliance manufacturers allow mild soap and warm water for routine cleaning, followed by thorough drying with a soft cloth. A dedicated stainless steel cleaner can be useful for heavier fingerprints, oily residue, water spots, or restoring shine, but only if the product is compatible with the finish.
Follow both the appliance manufacturer’s instructions and the cleaner label rather than assuming every stainless steel polish is suitable for every appliance.
Traditional stainless may tolerate products that coated or fingerprint-resistant stainless does not. That difference is one reason product testing should come after finish identification, not before it.
Should You Use Vinegar, Baking Soda, or Other DIY Cleaners?
Only when the manufacturer allows them. Vinegar and baking soda are frequently recommended in household cleaning advice, but some appliance manufacturers specifically warn against vinegar-based or abrasive cleaners on certain finishes.
The same caution applies to lemon juice, bleach, ammonia, oven cleaner, and homemade mixtures. “Natural” does not automatically mean surface-safe, and “stronger” does not necessarily mean more effective.
If you want to use a new cleaning method, test it first on a small, inconspicuous area after confirming that the appliance instructions do not prohibit it.
Why Does the Direction of the Grain Matter?
Traditional brushed stainless steel usually has visible grain lines running horizontally or vertically. Wiping in the direction of those lines can help reduce streaking and avoid emphasizing fine scratches.
Look closely at the surface before you start. Once you identify the grain direction, keep both cleaning and drying strokes consistent rather than wiping randomly across the finish.
Should You Clean the Surface While It Is Hot?
No. Let stovetops, oven doors, vent hoods, and nearby cooking surfaces cool before cleaning unless the appliance manual specifically instructs otherwise.
Cleaning a hot surface can affect how a product behaves and may create additional safety risks. It can also cause cleaner to dry too quickly, leaving residue or streaks that are harder to remove.
Do Eco-Friendly Products Need the Same Careful Review?
Yes. An eco-friendly label does not automatically tell you whether a product is appropriate for stainless steel, safe for every coating, or suitable for every household situation.
Magic Cleaning Pros states that its residential cleaning services use eco-friendly, non-toxic products, but stainless steel cleaning still requires surface-specific product selection. The finish, manufacturer instructions, cleaner ingredients, and contact time all matter more than the marketing category alone.
Reliable stainless steel cleaning is mostly about restraint. Start with the gentlest compatible method, use soft materials, follow the grain when appropriate, and move to stronger products only when the surface and manufacturer guidance support them.
Step-by-Step Stainless Steel Appliance Cleaning
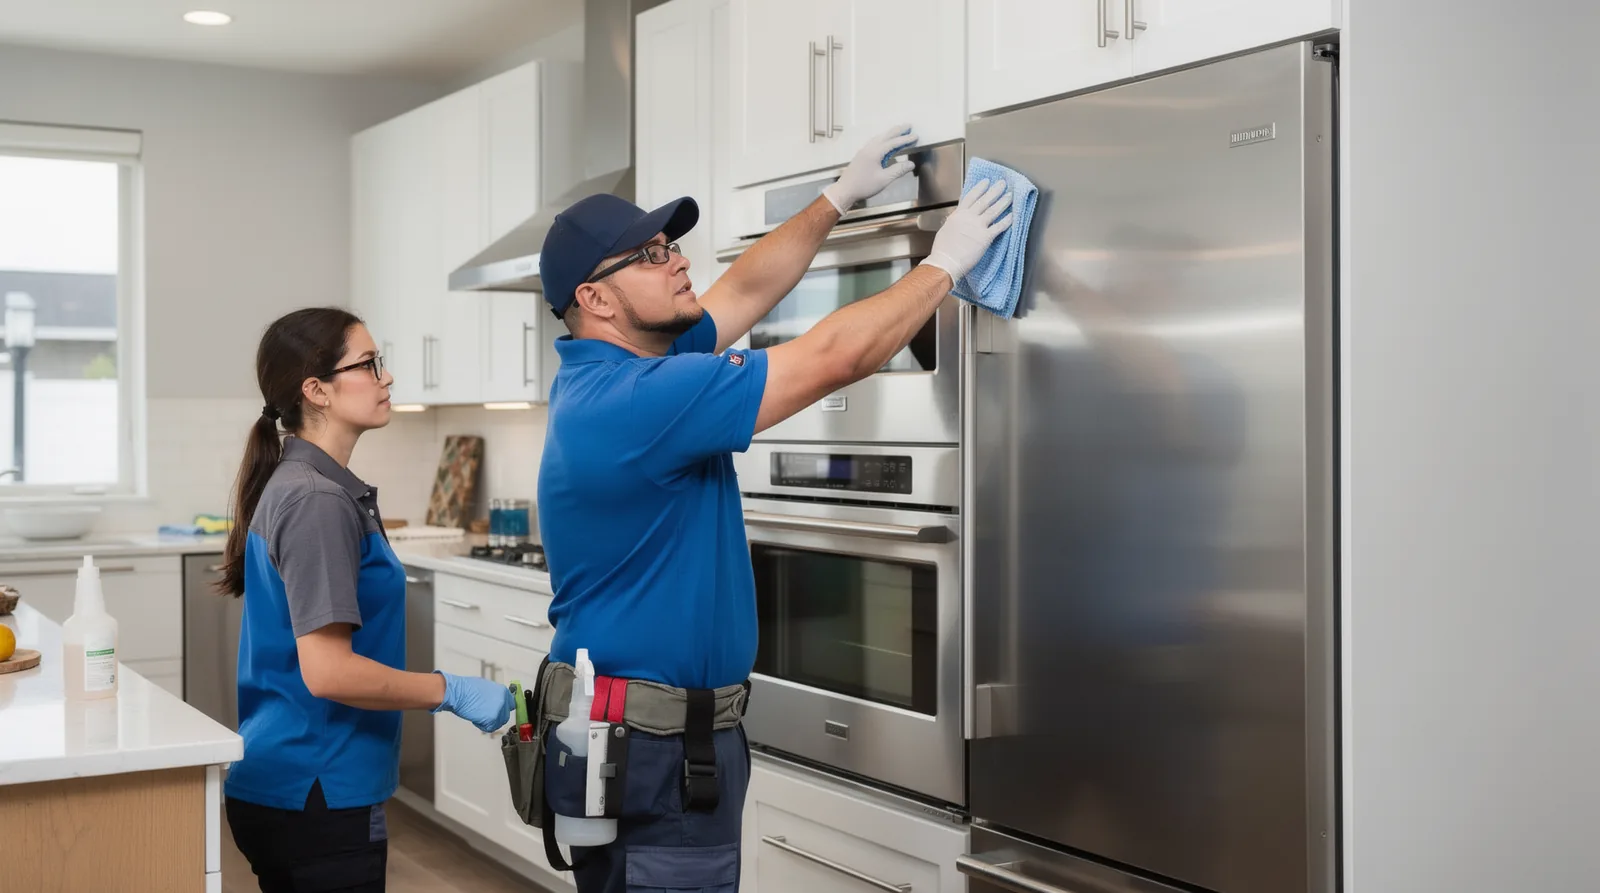
Effective stainless steel cleaning is less about scrubbing harder and more about using the right sequence. For most traditional stainless steel appliance exteriors, the goal is to loosen fingerprints and grime, remove any cleaner residue, and dry the surface before water or product can leave visible marks.
Always confirm the appliance finish first. Fingerprint-resistant and black stainless finishes may have coatings that require different products or methods, so the steps below should be adjusted to match the manufacturer’s instructions for your specific refrigerator, dishwasher, range, or microwave.
1. Remove Loose Dirt and Surface Smudges
Start with a clean microfiber cloth lightly dampened with warm water. Wipe away dust, fingerprints, fresh splatters, and loose residue before adding any cleaner.
For routine stainless steel cleaning, mild dish soap diluted in warm water is often enough when the appliance manufacturer allows it. Starting gently also reduces the chance that you will use a stronger product than the surface actually needs.
Regular light cleaning can prevent oily fingerprints and food residue from building into a film that takes more effort to remove later. A broader weekly kitchen cleaning routine can help keep appliance fronts from becoming a separate deep-cleaning project.
2. Wipe in the Direction of the Grain
Traditional brushed stainless steel has fine lines running in one direction. Look closely at the appliance, identify whether those lines run horizontally or vertically, and move the cloth in that same direction.
Following the grain can help lift residue from the tiny grooves in the finish and reduce visible streaking. It also avoids rubbing randomly across the surface, which can make fine marks more noticeable.
Do not scrub aggressively simply because a fingerprint or grease mark remains. Give the approved cleaner time to loosen the residue, then repeat the gentle pass before moving to a stronger method.
3. Remove Cleaner Residue
If you used soap or another approved cleaner, follow with a separate clean cloth dampened with water to remove what remains on the surface. Residual soap, polish, or cleaner can dry into haze or streaks even when the stainless steel itself is technically clean.
Work in manageable sections rather than coating the entire appliance at once. Cleaning and rinsing one area before moving on makes it easier to prevent product from drying on the finish.
For a busier kitchen, this same principle applies during more thorough cleanups. Wiping appliance fronts as part of a deeper kitchen cleaning checklist can keep grease and fingerprints from accumulating around handles, control panels, and frequently touched areas.
4. Dry the Surface Completely
Use a second clean, dry microfiber cloth immediately after rinsing. Continue wiping with the grain until the surface is dry rather than allowing water droplets to evaporate on their own.
This step matters because water can leave mineral deposits or visible spots as it dries. Drying also removes the last traces of diluted cleaner that might otherwise create a cloudy or uneven finish.
Pay particular attention around handles, trim, edges, and control panels where moisture can collect. Do not allow liquid to run into seams, vents, buttons, or electrical openings.
5. Buff Only if the Finish Needs It
Once the appliance is clean and dry, a final pass with a fresh microfiber cloth can even out the appearance and remove faint remaining streaks. For traditional stainless steel, some manufacturers also permit an approved stainless steel polish or brightener when extra shine is desired.
Polish is not necessary after every cleaning. Using too much product can create oily buildup that attracts fingerprints and makes the surface appear streaky again.
If you do use a polish, apply only the amount recommended on the label and keep it away from plastic trim, rubber gaskets, controls, or coated finishes unless the manufacturer specifically approves it.
How Often Should Stainless Steel Appliances Be Wiped Down?
There is no universal schedule because use varies from one household to another. Refrigerator doors, dishwasher handles, and range controls may need frequent spot cleaning in a busy kitchen, while less-handled side panels can often go longer between cleanings.
Use visible buildup as the better cue. Fingerprints, grease, food splatter, and water marks are easier to remove when they are fresh, so brief touch-ups between deeper cleaning sessions can reduce the need for heavier stainless steel cleaning later.
What Actually Causes Streaks on Stainless Steel?
Streaks usually come from moisture, cleaner residue, oily buildup, or wiping inconsistently across the finish. Letting water air-dry can leave mineral marks, while too much soap or polish may leave a film that becomes visible under kitchen lighting.
The fix is usually simpler than adding more cleaner. Use less product, remove residue thoroughly, dry with a clean microfiber cloth, and follow the grain when the appliance has a traditional brushed stainless finish.
A streak-free result depends more on controlled product use and thorough drying than on polishing aggressively. Keeping the method simple also helps protect the finish from unnecessary wear.
Removing Grease, Water Spots, and Stubborn Stains
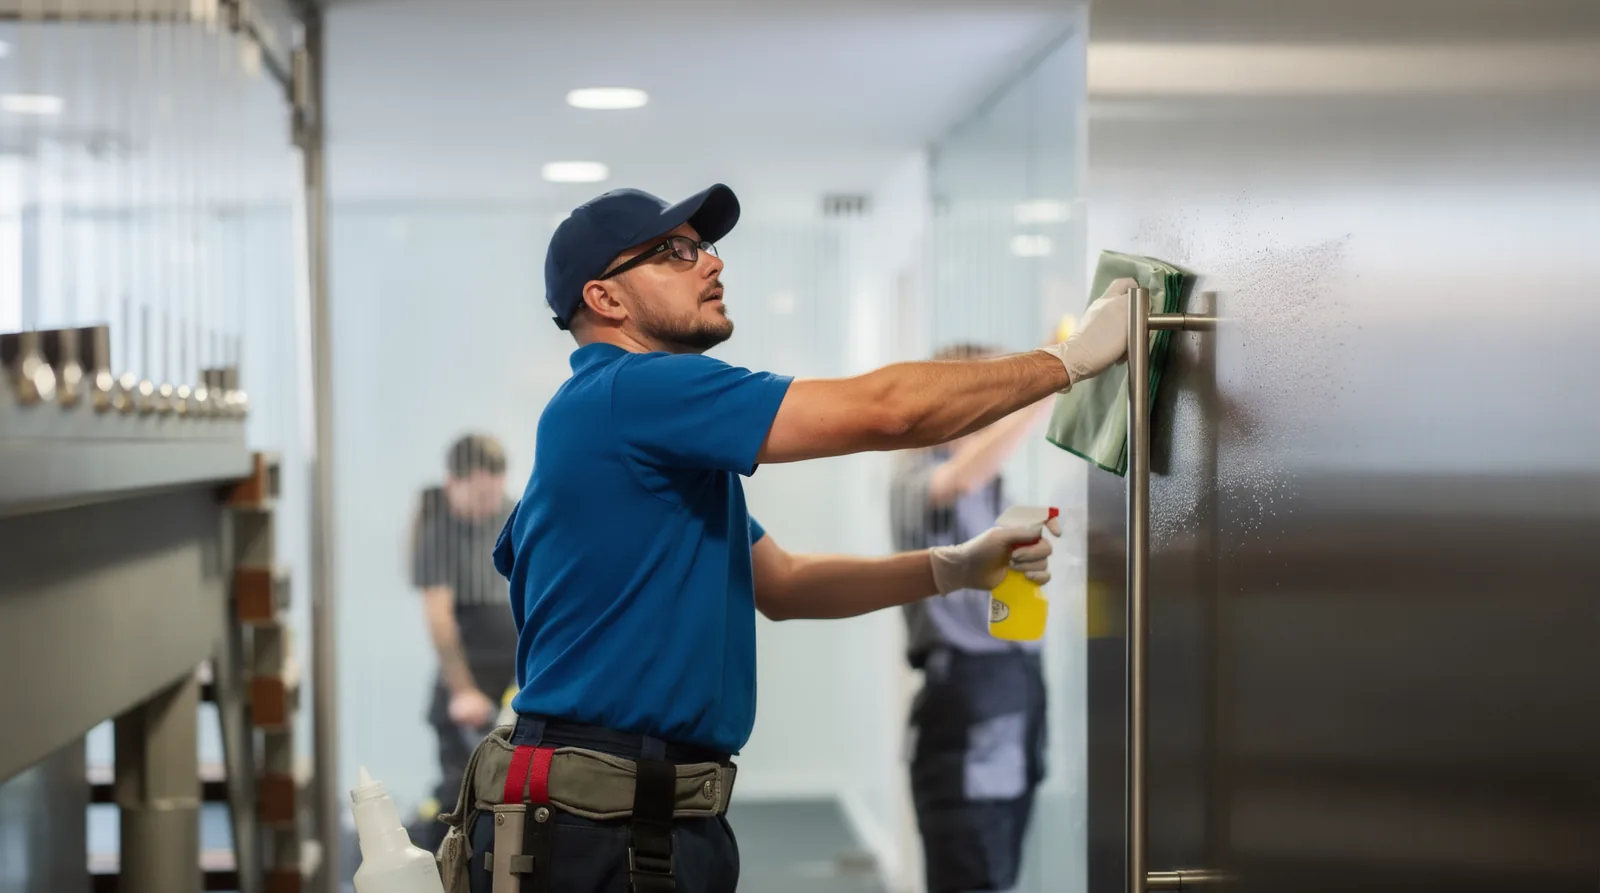
Routine wiping handles most fingerprints and light residue, but some marks need a more targeted approach. Grease films, dried food, mineral deposits, and older water spots respond differently, so identifying what is on the surface before reaching for a stronger cleaner can help prevent unnecessary scrubbing.
The safest starting point is still the gentlest method approved for the finish. Use warm water and mild dish soap when permitted, give the solution a little time to loosen the buildup, and wipe with a soft microfiber cloth rather than immediately reaching for an abrasive pad or concentrated cleaner.
How Do You Remove Grease and Oily Buildup?
Kitchen grease can create a thin film that traps fingerprints and makes stainless steel look cloudy even after it has been wiped. Start with a small amount of mild dish soap diluted in warm water, then wipe with the grain using a clean microfiber cloth.
For heavier buildup around range hoods, oven handles, or frequently touched refrigerator doors, repeat the process instead of scrubbing harder. Once the grease lifts, remove all soap residue with a separate damp cloth and dry the surface completely so the cleaning solution does not become the next source of streaks.
Avoid assuming that a household degreaser is automatically safe for the appliance. Strong alkaline products, oven cleaners, and other heavy-duty formulas may be inappropriate for coated or fingerprint-resistant finishes, so check the appliance instructions before using anything stronger than the routine cleaning method.
How Should You Handle Hard-Water Spots and Mineral Deposits?
White spots or cloudy patches often appear when mineral-containing water dries on stainless steel. The same basic process behind hard-water stains on household surfaces applies here: water evaporates, while dissolved minerals remain behind and become more noticeable as deposits accumulate.
Start by wiping the area with water and an approved mild cleaner, then dry it thoroughly. If the marks remain, consult the appliance or fixture manufacturer’s care instructions before using vinegar, citric acid, or a commercial mineral-removal product because acidic cleaners are not suitable for every stainless steel finish.
Prevention is easier than removing older deposits. Dry splash-prone areas after cleaning and avoid leaving droplets around faucets, sink rims, handles, or appliance surfaces where repeated evaporation can gradually create a visible film.
What Should You Do About Dried Food or Stubborn Residue?
Dried splatters should be softened before they are removed. Hold a warm, damp microfiber cloth over the affected area for a short period, then wipe gently in the direction of the grain instead of scraping the residue away with a hard tool.
If the spot remains after a few gentle passes, move to a manufacturer-approved stainless steel cleaner rather than increasing pressure. Scrapers, metal utensils, abrasive powders, and rough pads can turn a removable stain into a permanent scratch.
When Should You Stop Scrubbing?
If a mark does not change after appropriate cleaning, it may not be ordinary surface dirt. Scratches, heat discoloration, pitting, coating damage, or corrosion can resemble stubborn staining but will not necessarily disappear with additional stainless steel cleaning.
Continuing to scrub can make cosmetic damage worse, particularly on coated appliance finishes. When a mark remains after the approved cleaning method has been followed, check the manufacturer’s troubleshooting guidance before experimenting with stronger chemicals or abrasive tools.
Cleaning Stainless Steel Sinks and Fixtures
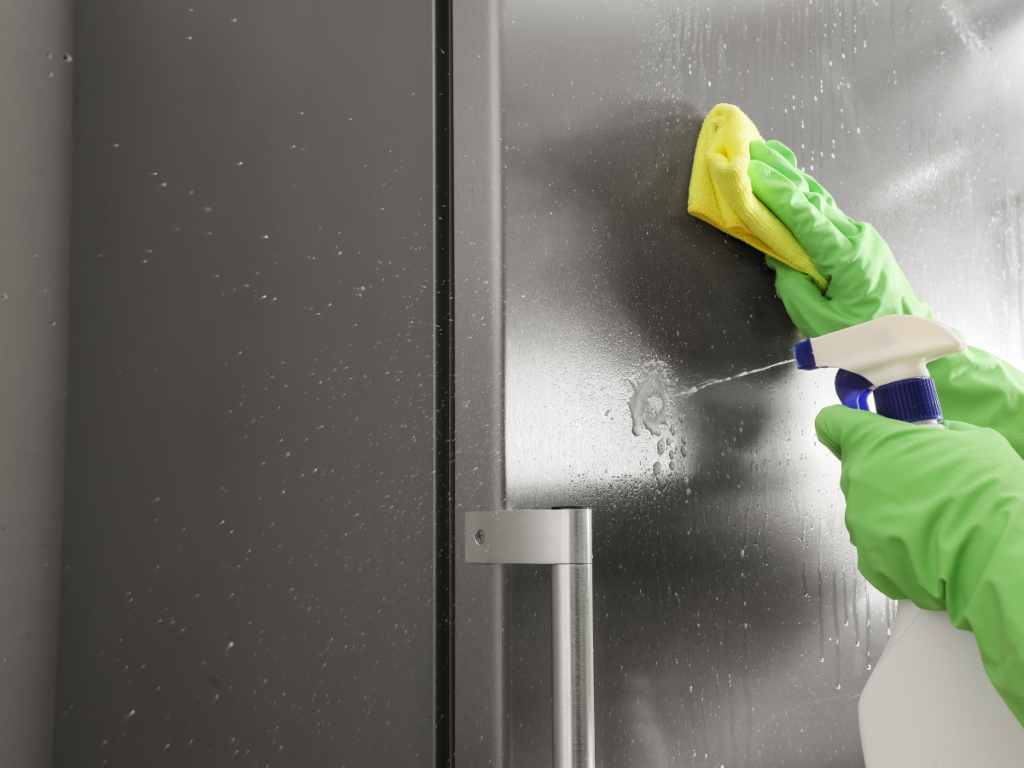
Stainless steel sinks face a different kind of wear than appliance exteriors because they are repeatedly exposed to water, soap, food residue, and minerals.
That means sink care should focus not only on removing visible grime but also on preventing water spots and residue from sitting on the surface after everyday use. Fixtures such as stainless steel or stainless-look faucets also need careful product selection.
Some faucets have plated, coated, or mixed-material finishes that resemble stainless steel, so confirm the manufacturer’s cleaning instructions before treating the faucet and sink as though they are made from exactly the same material.
How Do You Clean a Stainless Steel Sink?
Begin by rinsing away food particles and loose debris so they are not dragged across the basin during cleaning. Apply a small amount of mild dish soap or another sink-safe cleaner to a soft sponge or microfiber cloth, then clean the basin using gentle strokes rather than aggressive scrubbing.
Pay attention to the drain area, corners, rim, and the space around the faucet base, where soap film and residue can accumulate. Broader seasonal kitchen cleaning is also a useful time to address these less-visible sink areas instead of limiting the task to a quick wipe of the basin.
Rinse thoroughly after cleaning because dried soap can leave a dull film behind. Finish by wiping the sink dry with a clean microfiber cloth, particularly if water spots are common in your home.
How Do You Prevent Water Spots in a Stainless Steel Sink?
Water spots develop when droplets evaporate and leave minerals behind, so the most effective prevention step is also one of the simplest. Wiping the basin and faucet dry after heavy use reduces the amount of standing water that has a chance to evaporate on the surface.
You do not need to dry the sink after every drop of water for it to remain presentable. Focus on wiping it after cleaning, after washing a large batch of dishes, or whenever visible droplets and mineral marks are beginning to accumulate.
What Should You Avoid Using in a Stainless Steel Sink?
Steel wool and other metal scrubbers are risky because they can scratch the surface and may leave behind small particles that later rust. Harsh abrasive powders can also alter the finish, especially when they are rubbed repeatedly in one area.
Be cautious with bleach and chloride-containing cleaners as well. If a product is approved for the sink, use it only according to its label and do not allow concentrated cleaner to sit on the stainless surface longer than instructed.
Rubber mats, wet sponges, cleaning cloths, and metal objects should not be left sitting in the basin for long periods either. Trapped moisture and residue underneath them can create discoloration or make mineral and soap buildup harder to remove.
How Should You Clean Stainless Steel Faucets and Fixtures?
Use a soft damp cloth for routine fingerprints, splashes, and light soap residue, then dry the fixture to minimize water marks. Avoid soaking the faucet or spraying cleaner directly into joints, seams, handles, or openings where moisture can collect.
For stubborn mineral buildup near the aerator or faucet base, check the fixture manufacturer’s instructions before applying an acidic cleaner. A method that is appropriate for bare stainless steel may damage plating, sealants, or decorative coatings used elsewhere on the same fixture.
Keeping sinks and fixtures clean is largely a matter of removing residue before it hardens and limiting how long water remains on the surface. That approach makes stainless steel cleaning easier while reducing the need for aggressive products later.
Preventing Streaks, Scratches, and Cleaning Damage
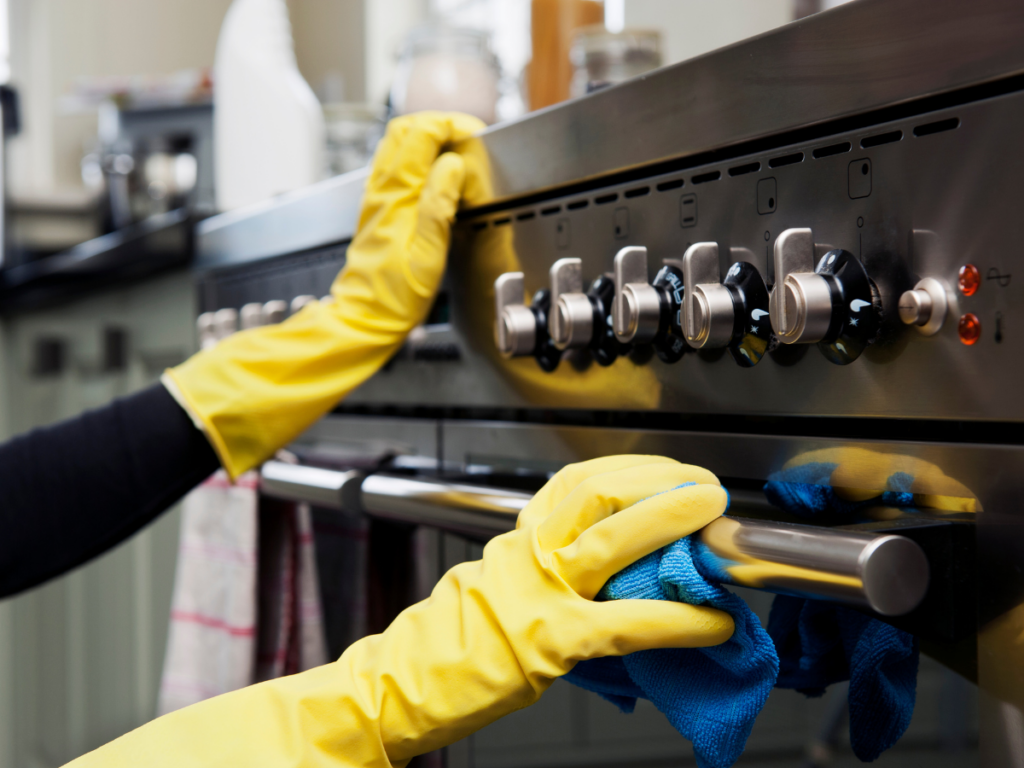
Streaks usually come from too much cleaner, residue left on the surface, or moisture that dries before it is buffed away. Good stainless steel cleaning is less about using a powerful product and more about controlling how much you apply, wiping in the right direction, and finishing with a clean, dry cloth.
Start by checking the direction of the stainless steel grain, which appears as fine horizontal or vertical lines in the surface. Wiping with the grain helps lift residue from those lines and reduces the risk of visible cross-grain scratches, particularly on polished appliance finishes.
For routine fingerprints, light grease, and everyday smudges, use a clean microfiber cloth and a cleaner that the appliance manufacturer identifies as safe for its finish.
Building these small tasks into regular kitchen cleaning habits can also keep grease and food residue from hardening until they require more aggressive scrubbing.
Apply only enough product to loosen the soil instead of saturating the surface. Spraying a cloth rather than heavily spraying the appliance can give you more control around handles, seams, control panels, and neighboring materials that may have different cleaning requirements.
After cleaning, use a second dry microfiber cloth to remove remaining moisture and product residue. This final buffing step is one of the simplest ways to achieve streak-free stainless steel because it prevents droplets and cleaner film from drying unevenly across the finish.
Stainless Steel Cleaning Mistakes That Can Damage the Finish
One of the most common mistakes is assuming that stainless steel can tolerate any household cleaner. Despite its name, stainless steel is not completely immune to staining, scratching, or corrosion, and certain chemicals can damage its protective surface.
Avoid abrasive powders, steel wool, rough scouring pads, and other products that can leave permanent scratches. Appliance manufacturers may also warn against particular acids, ammonia, oven cleaner, or other chemicals, so check the care instructions for the specific appliance before experimenting with homemade or multipurpose cleaning solutions.
Bleach and other chloride-containing products deserve particular caution. Stainless steel naturally develops a very thin chromium-rich passive layer that helps provide corrosion resistance, but prolonged exposure to chlorides can disrupt that protection and contribute to staining or pitting.
Concentrated bleach should therefore not be treated as a general-purpose stainless steel cleaner, and any product approved for a particular surface should be used according to its dilution, contact-time, and rinsing instructions.
Leaving cleaner or dirty water sitting in seams and crevices can create problems as well. Once the surface is clean, remove remaining residue and dry it thoroughly rather than allowing cleaner, food residue, salty liquids, or standing moisture to linger.
Why Does Stainless Steel Need Regular Cleaning Beyond Appearance?
Routine cleaning keeps fingerprints, grease, food residue, mineral deposits, and other buildup from accumulating until they become harder to remove.
Keeping the surface clean also reduces the temptation to reach for aggressive chemicals or abrasive scrubbing later, which can cause more damage than the original stain.
Frequently touched stainless steel areas deserve particular attention because refrigerator handles, dishwasher pulls, faucets, and similar surfaces collect residue from repeated hand contact.
A broader high-touch surface cleaning routine can help homeowners identify these often-missed areas instead of focusing only on surfaces that visibly look dirty.
The goal is not to repeatedly strip or restore the metal’s protective layer. Stainless steel forms its corrosion-resistant passive film naturally when suitable conditions are present, and ordinary household care should focus on removing contaminants without unnecessarily damaging the finish.
Can Professional Cleaning Improve Hygiene as Well as Appearance?
Cleaning and disinfecting serve different purposes. Cleaning removes grease, crumbs, residue, and other soil from a surface, while disinfecting requires an appropriate product, correct contact time, and attention to the manufacturer’s instructions for both the disinfectant and the surface being treated.
That distinction matters in kitchens, where stainless steel may appear spotless while frequently touched areas still need hygiene attention. A more complete approach to home health and hygiene cleaning considers visible grime and high-contact surfaces separately rather than assuming a shiny appliance is automatically a hygienically clean one.
If sanitizing or disinfecting is needed, first confirm that the chosen product is compatible with the particular stainless steel finish.
Follow the label carefully instead of assuming that a stronger chemical or longer exposure will produce a better result, since improper products can harm the finish without improving everyday cleaning.
Conclusion
Keeping stainless steel spotless comes down to using the right products, wiping with the grain, and dealing with fingerprints, grease, and water spots before buildup becomes harder to remove.
A simple routine can preserve that clean, polished appearance without relying on harsh scrubbing or products that may leave behind streaks.
When the rest of your home could use the same level of attention, Magic Cleaning Pros can take care of the cleaning for you with our professional cleaning services. Call 678-515-5820 to speak with the team at Magic Cleaning Pros and book your cleaning service today.