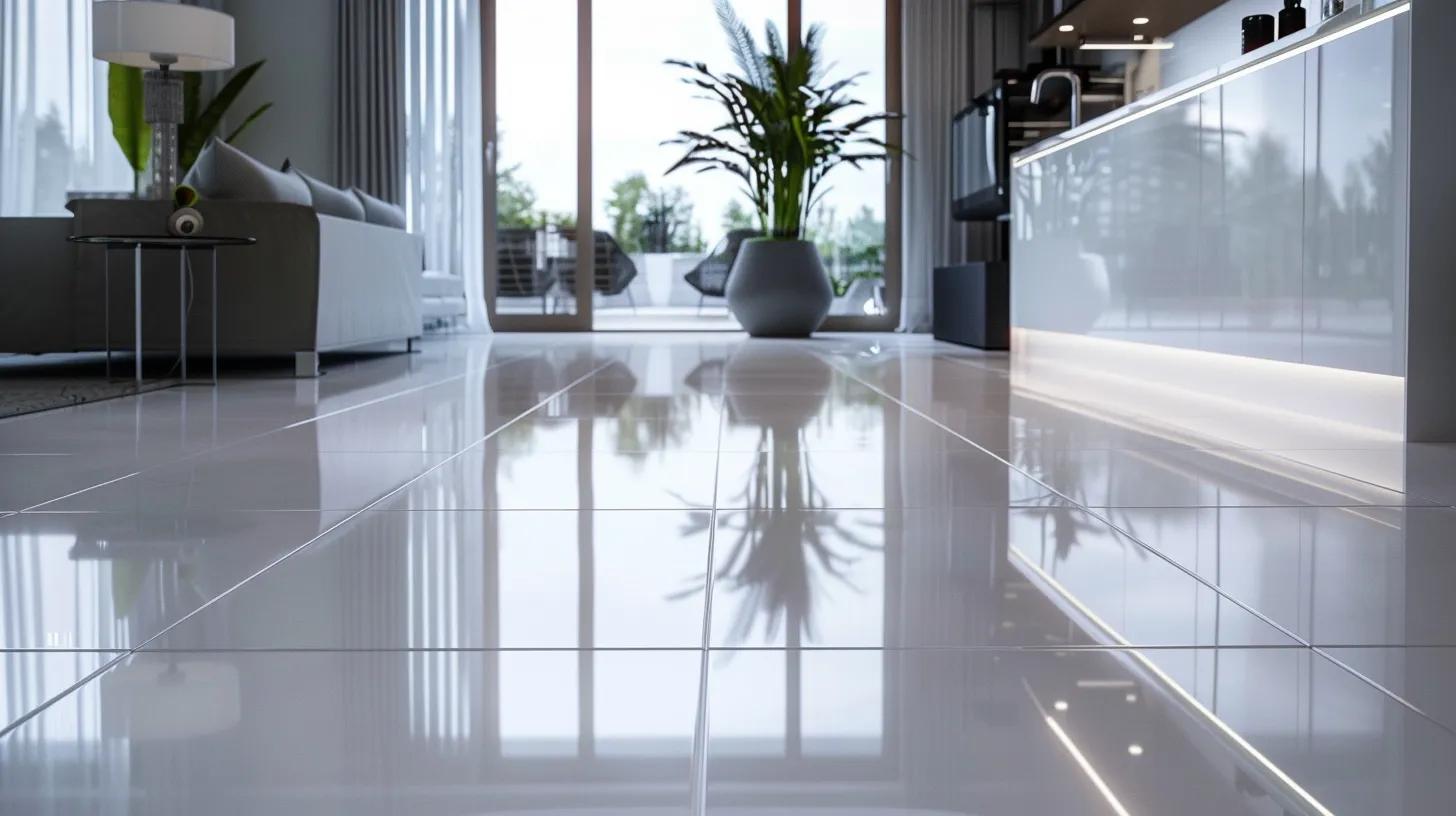
Tile floors add a sleek, durable touch to any home—but over time, dirty grout and dull surfaces can make even the most beautiful tile look worn and neglected. Regular tile and grout cleaning is key to maintaining that just-installed shine and keeping your floors looking brand new. From everyday maintenance routines to deep-cleaning strategies, knowing the right techniques and products can make all the difference. In this guide, we’ll share practical tips for cleaning and preserving your tile floors, helping you extend their life, protect your investment, and keep every room feeling fresh and polished.
Transform Your Floors with Deep Tile and Grout Cleaning
Understanding Your Tile and Grout for Effective Cleaning
Keeping tile and grout clean is about more than just regular mopping. Different tile materials and grout types react differently to cleaning solutions, moisture, and wear. Knowing what you’re working with helps you choose the right tools and techniques—and avoids damage over time.
Identifying Different Tile Materials and Their Cleaning Needs
The type of tile you have directly affects how it should be cleaned. Ceramic and porcelain tiles are common in both residential and commercial settings because they’re durable and non-porous. These surfaces can usually handle a wide range of cleaning products, making them relatively easy to maintain.
Natural stone tiles like travertine, marble, and slate, on the other hand, are more porous and sensitive to acidic or abrasive cleaners. For these materials, a pH-neutral cleaner is important to prevent etching and long-term damage. Even common substances like vinegar or bleach can dull or pit the surface if used repeatedly.
For especially dirty tiles, especially in outdoor or high-traffic areas, pressure washing may be an option—though it’s only suitable for more durable tile types like some porcelain or exterior-grade stone. In any case, it’s smart to test a cleaning product on a small, hidden section before using it more broadly.
The Importance of Grout Type in Your Cleaning Approach
Grout isn’t just filler between tiles—it’s a porous material that easily absorbs dirt, grease, and spills. Because of this, it often discolors faster than the tile itself, especially in kitchens, bathrooms, or entryways where moisture and foot traffic are high. There are several types of grout, including sanded and unsanded varieties, each requiring different cleaning and sealing approaches. White or light-colored grout, while visually appealing, can stain quickly if not sealed or maintained properly.
Regular resealing of grout can help prevent deep staining and improve resistance to moisture, especially in wet areas. Cleaning grout with the wrong solution can lead to fading or a rough texture. It’s best to avoid harsh scrubbing with metal brushes or acidic cleaners that break down the grout surface over time.
Common Issues Affecting Tile and Grout Appearance
Several recurring issues can make tile and grout look worn out or dirty. Mold and mildew often appear in bathrooms where humidity levels are high. Soap scum builds up over time in showers, creating a cloudy film on both tile and grout. In kitchens, food splatters and grease can stain grout lines, especially around stovetops and sinks. Hard water also contributes to mineral buildup, leaving behind white streaks or haze. Addressing these problems early, either with routine scrubbing or steam cleaning, helps maintain the overall look and extends the life of both tile and grout.
Why Professional Tile and Grout Cleaning Can Restore Newness
Even with careful maintenance, tile and grout can accumulate buildup that household cleaners can’t remove. That’s where professional cleaning comes in. Using commercial-grade equipment, such as high-pressure steam cleaners and rotating brushes, professionals can reach deep into the pores of grout and remove embedded dirt, mold, and stains. In addition to cleaning, many services include grout recoloring or sealing, which can restore the original look and protect against future discoloration. These treatments are especially helpful in high-use areas or larger properties where DIY maintenance might not be enough.
Essential Regular Tile and Grout Cleaning Practices
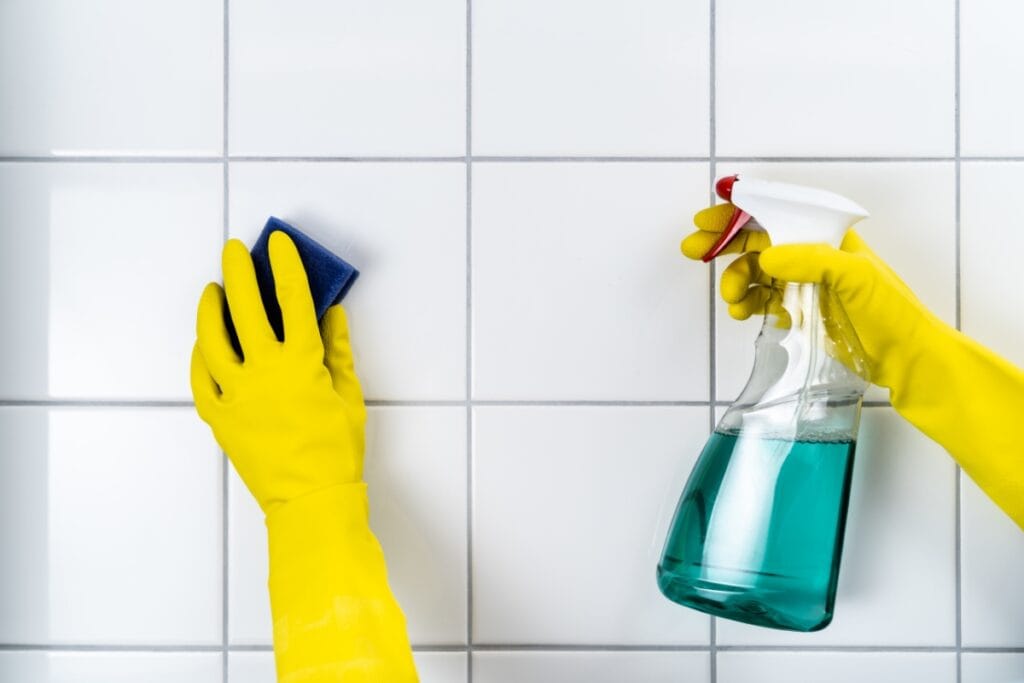
Keeping tile and grout clean doesn’t require constant deep scrubbing, but it does take regular attention. Sticking to a simple routine—daily, weekly, and as-needed spot cleaning—can make a big difference in how your floors look and how long they last. With the right approach, you can prevent buildup, reduce staining, and maintain a clean, polished appearance without having to rely on harsh chemicals or time-consuming restoration work.
Daily Sweeping or Vacuuming to Prevent Abrasive Dirt
Everyday dust and dirt may seem harmless, but over time these particles can scratch tile surfaces and settle into grout lines. That’s why sweeping or vacuuming once a day is a simple but important step. Use a broom with soft bristles or a vacuum designed for hard floors to collect loose debris. If you’re using a vacuum, a brush roll that won’t scratch surfaces is best. Removing dry dirt regularly helps reduce abrasion, especially in high-traffic areas like entryways, kitchens, and hallways.
Weekly Mopping Techniques for Maintaining Tile Shine
Mopping once a week keeps your tile floors looking clean and prevents dullness from buildup. Choose a pH-neutral cleaner mixed with warm water, which is gentle enough for most tile finishes but still effective against grease, footprints, and light stains. Avoid overly wet mops, as excess water can seep into grout and encourage discoloration or mildew growth. Instead, use a damp mop and go over the surface in sections. For areas that see more dirt, mop once with the cleaner, then follow up with a clean, damp cloth or mop to remove any leftover residue.
Spot Cleaning Grout Stains as They Occur
Grout is more porous than tile and tends to absorb spills quickly. When something spills, wiping it up right away helps prevent long-term stains. Use a soft nylon brush or old toothbrush with a mild solution of water and vinegar or a cleaner designed for grout. Avoid scrubbing too aggressively, which can wear down grout over time. Prompt attention keeps your grout looking better between deep cleanings and reduces the chances of needing stronger treatments later.
Choosing Safe Everyday Cleaners for Your Tile Floors
Choosing the right cleaners is just as important as how often you clean. Many off-the-shelf products contain harsh chemicals that can damage tile coatings or weaken grout. Stick to products labeled safe for tile and grout, ideally ones that are ammonia-free and pH-neutral. These products are less likely to cause fading, cracking, or a sticky residue that attracts more dirt. Natural and eco-friendly cleaners are a good option for everyday maintenance and are safe for homes with children or pets.
Keep High-Use Areas in Focus
Some parts of your home will need more attention than others. Kitchens, bathrooms, and entryways tend to collect more dirt and moisture, so they may require more frequent sweeping and mopping. It’s a good idea to pay attention to these zones and adjust your routine as needed to keep them clean and safe.
Advanced Tile and Grout Cleaning Methods for a Deeper Clean
Routine sweeping and mopping are great for everyday maintenance, but over time, tile and grout can start to look dull or stained despite your best efforts. When regular cleaning isn’t enough, it may be time to use more advanced techniques. These deeper methods target embedded dirt, soap scum, and grime that settle into grout lines and textured tile surfaces.
Creating Effective Homemade Tile and Grout Cleaning Solutions
You don’t always need commercial products to clean grout effectively. A simple mix of warm water, a few drops of dish soap, and either white vinegar or baking soda can be surprisingly effective. The soap breaks down grease, while vinegar or baking soda targets mild stains and residue. For areas that need a bit more power, you can carefully add hydrogen peroxide to the mix. Just be cautious with natural stone tiles, as vinegar and hydrogen peroxide can damage certain materials like marble or travertine.
To use the solution, apply it to the grout and let it sit for five to ten minutes. This gives the ingredients time to loosen the buildup. Then scrub gently using a soft brush, such as a toothbrush or nylon scrub brush. Rinse with clean water afterward and wipe the area dry.
Utilizing Steam Cleaners for Chemical-Free Tile and Grout Sanitation
Steam cleaning is one of the most effective and safest ways to deep clean tile and grout. A steam cleaner uses hot water vapor to lift dirt and kill bacteria without the use of harsh chemicals. This makes it a good option for homes with pets, children, or individuals sensitive to strong cleaning agents.
Steam is especially effective in areas like bathrooms and kitchens, where moisture and grime tend to settle in. The heat penetrates grout lines and lifts out dirt that’s hard to reach with a scrub brush. It also leaves no residue behind, helping tile surfaces maintain their natural shine.
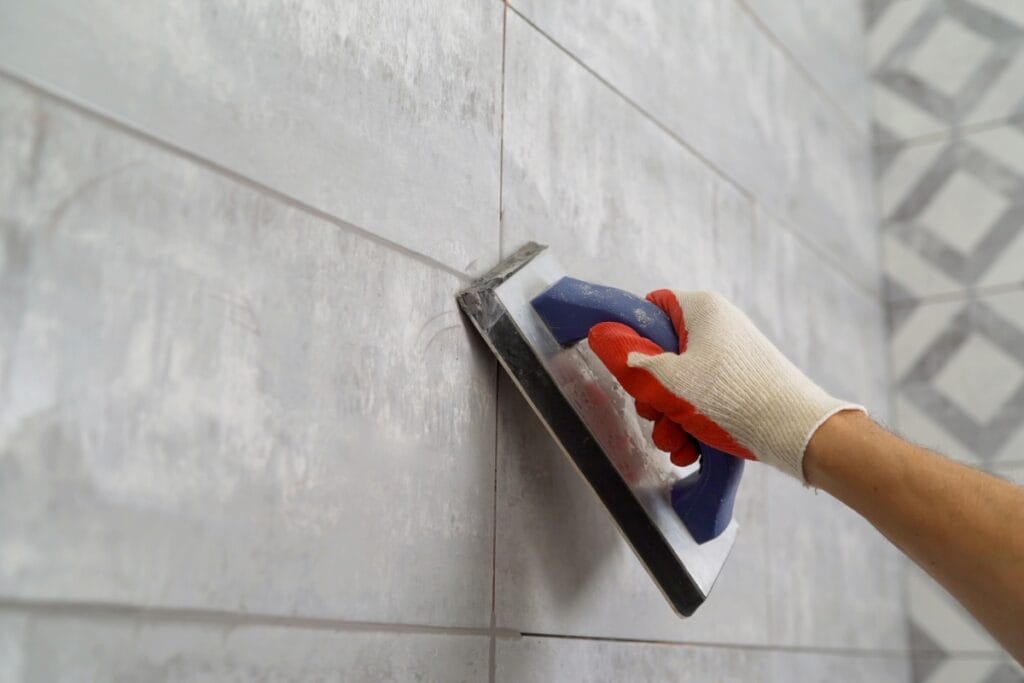
Step-by-Step Grout Scrubbing for Stubborn Grime Removal
If steam cleaning isn’t available or you’re dealing with targeted stains, a more hands-on approach can help. Start by applying a grout-safe cleaner or your homemade solution directly onto the grout lines. Let it soak in to break down the buildup.
Scrub the grout using a medium-stiff brush. Focus on joints and corners where grime tends to settle. Use small circular motions and apply steady pressure, but avoid using metal brushes that can erode grout over time. Rinse with warm water to remove the loosened dirt. For tough stains, repeat the process or use an oxygen bleach solution mixed according to the package instructions. Always avoid chlorine bleach unless you’ve tested it first, as it can cause discoloration on some grout types.
How to Properly Rinse After Deep Tile and Grout Cleaning
Once you’ve finished scrubbing or steam cleaning, it’s important to rinse the area thoroughly. Any leftover cleaner or debris can leave a sticky film or dull the tile surface. Use a clean mop, microfiber cloth, or sponge soaked in warm water to go over the tile and grout. Change the rinse water frequently to avoid spreading dirt around.
After rinsing, dry the floor with a soft towel or let it air dry. This final step helps prevent water spots, especially in areas with hard water. It also prepares the surface for a protective grout sealant if you plan to apply one.
Tackling Specific Tile and Grout Cleaning Challenges
Tile and grout surfaces are durable, but they still require targeted cleaning methods to handle common problems like mold, stains, grease, and soap scum. These issues don’t always respond well to general cleaning routines. Instead, they call for more specific techniques to keep floors and walls looking their best.
Removing Mold and Mildew From Grout Lines Safely
Mold and mildew are common in areas with high humidity, like bathrooms, laundry rooms, and kitchen backsplashes. Grout is especially vulnerable since it’s porous and absorbs moisture easily. To clean mild mold growth, use a solution made from equal parts white vinegar and water. Spray it directly on the grout and let it sit for 10 to 15 minutes. Then scrub using a soft-bristle brush and rinse thoroughly with clean water.
For heavier mildew, try a diluted hydrogen peroxide solution or a specialty mildew remover. Make sure the room is well-ventilated during the process, and wear gloves to protect your skin. Once the area is clean and dry, applying a grout sealant with anti-microbial properties can help prevent mold from returning.
Addressing Discoloration in Your Tile Grout
Discoloration in grout is one of the most noticeable issues that develops with regular use. Spills, dirt, and foot traffic can gradually darken or stain grout lines. One way to lighten them is with a grout brightener, many of which contain oxygen bleach. These products break down stains without the harshness of chlorine bleach, which can cause fading or uneven coloring.
Apply the brightener directly onto the grout, allow it to soak in, then scrub gently with a brush. Multiple rounds may be needed for deep stains. Be sure to rinse the area well between applications to remove any remaining residue, as leftover cleaner can dull the tile or leave a hazy finish.
Lifting Grease and Food Stains From Kitchen Tiles
Kitchens are high-use areas where grease and food spills are almost unavoidable. Over time, even small splashes can build up into sticky residue, especially on grout lines and textured tiles. Start by sweeping or vacuuming loose debris. Then use a degreasing cleaner diluted with warm water, applying it to the stained area. Let it sit for a few minutes before scrubbing with a brush or microfiber cloth.
Avoid using steel wool or abrasive pads that can scratch the tile surface. Rinse thoroughly and dry the area to prevent streaks. Keeping up with grease removal on a weekly basis can make cleaning easier in the long run and reduce the need for deep scrubbing.
Dealing With Soap Scum and Water Marks in Bathroom Tile and Grout
Soap scum forms when soap residue combines with minerals in hard water. The result is a cloudy film that clings to tile and grout, especially in showers and around sinks. For general buildup, a mixture of vinegar and water works well to dissolve soap scum. Spray the solution on affected areas and scrub using a non-abrasive sponge or brush.
For more stubborn buildup, use a commercial soap scum remover following the instructions on the label. After cleaning, rinse thoroughly with clean water and dry the area to prevent new mineral deposits. Squeegeeing tile surfaces after showers or wiping down walls can help reduce buildup over time.
Protecting Your Tile and Grout to Preserve That New Look
Once your tile and grout are thoroughly cleaned, the next step is protecting them so they stay in good condition. Without regular upkeep and a few preventative measures, even well-cleaned floors can start to lose their appearance over time. Simple steps like sealing grout, using floor mats, and preventing surface damage can go a long way in keeping your floors looking like new.
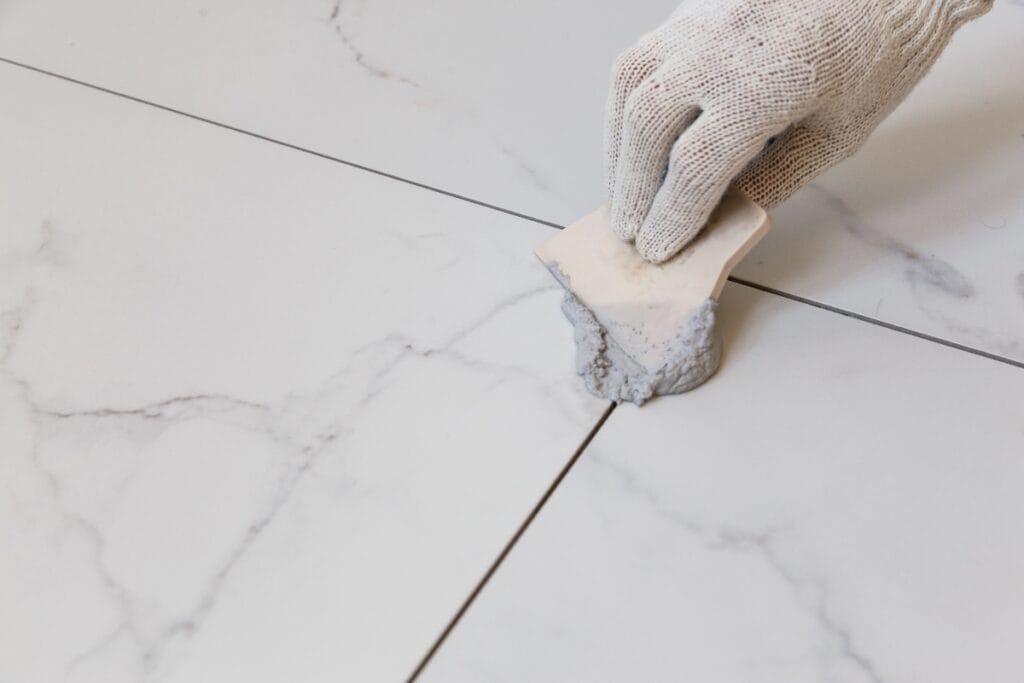
Applying Grout Sealant to Prevent Future Stains and Damage
Grout is naturally porous, which means it can easily absorb liquids, dirt, and bacteria. Applying a grout sealant creates a protective layer that helps block out moisture and stains. Sealants are available in both spray and liquid forms, and the best option depends on your tile and grout type.
It’s a good idea to apply sealant right after a deep cleaning session when the grout is dry and free of debris. A sealed surface resists daily grime more effectively and makes routine cleaning faster and easier. Sealant is especially important in areas like kitchens and bathrooms where spills and moisture are common. It won’t make your floors completely stain-proof, but it will give you more time to wipe up messes before they cause lasting discoloration.
How Often to Reseal Grout for Optimal Floor Protection
Grout doesn’t stay sealed forever. Depending on the type of sealant used and how much wear the area receives, it may need to be reapplied every one to two years. High-traffic areas like entryways or kitchen floors may require resealing more frequently.
A quick way to test whether your grout needs attention is to drip a small amount of water on it. If the water absorbs quickly instead of beading on the surface, it’s time to reseal. Watching for signs like darkening grout, increased staining, or a gritty texture can also help you know when it’s time for maintenance.
Using Furniture Pads to Avoid Scratches on Tile Surfaces
Furniture legs can cause scratches or chips on tile surfaces, especially when heavy pieces are dragged or shifted during cleaning or everyday use. Adding felt or rubber pads under furniture legs is a simple step that prevents direct contact between furniture and the tile floor.
These pads are especially important on chairs, barstools, and tables that are moved frequently. Make it a habit to check them regularly for wear and replace them as needed. Keeping the pads in good condition ensures they continue to protect your flooring.
The Role of Rugs and Mats in Tile and Grout Preservation
Placing rugs or mats in high-use areas helps protect both the tile and grout. Entryways, kitchen sinks, bathroom vanities, and hallways benefit from having mats that catch dirt, sand, water, and other debris before it spreads across the floor.
In kitchens, anti-fatigue mats can also protect flooring in areas where people stand for long periods. These mats are especially useful in front of sinks and stovetops where spills are more likely. Be sure to choose mats with non-slip backing to avoid any safety hazards. Cleaning the mats regularly keeps them effective. Shaking them out, vacuuming, or washing as directed prevents them from becoming a source of dirt themselves.
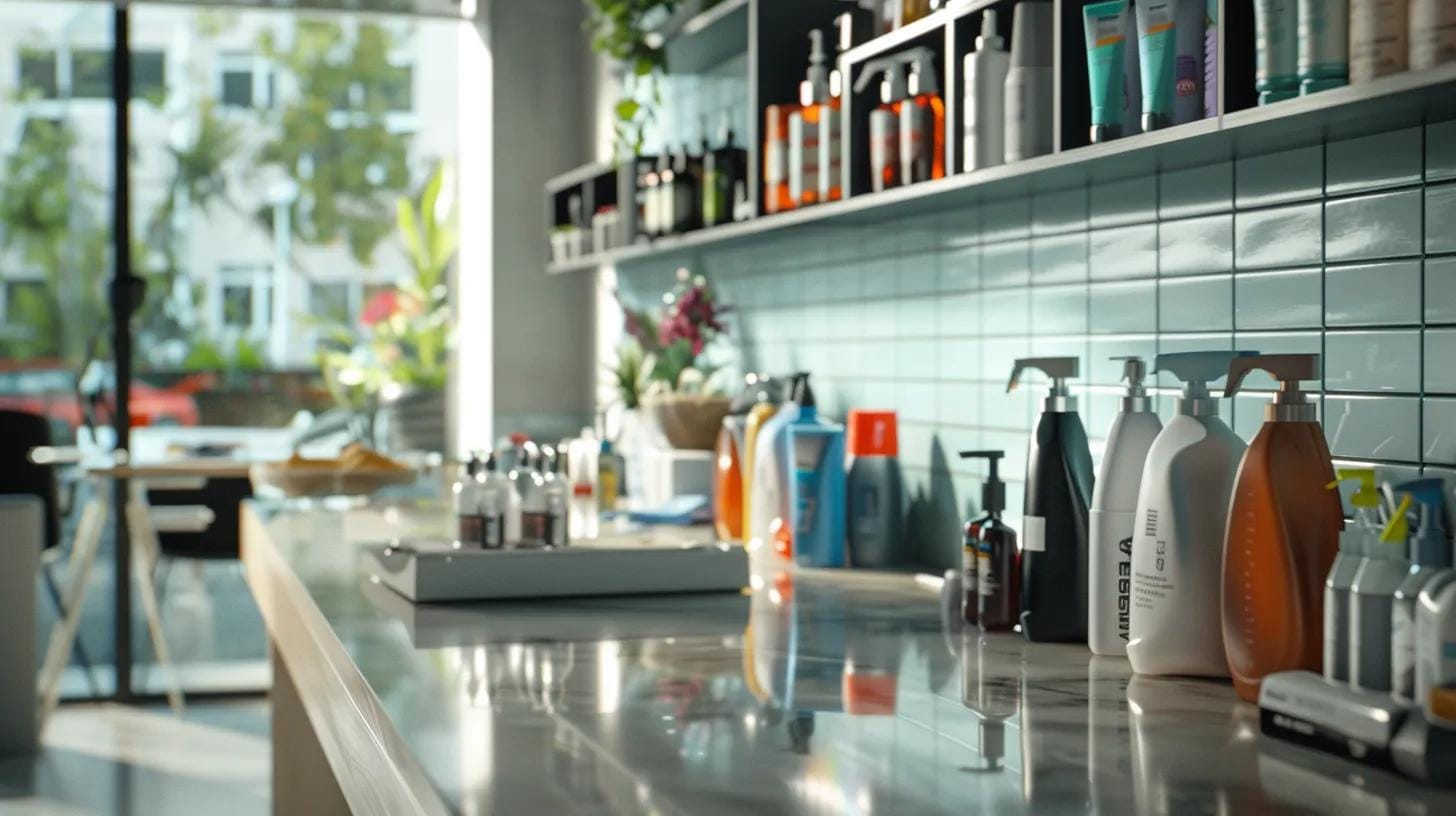
Selecting the Right Tools and Products for Tile and Grout Cleaning
Keeping tile and grout clean starts with using the right tools. With so many products and equipment options available, it’s important to match your choices to the type of tile, the condition of the grout, and the level of buildup you’re trying to remove. Whether you’re doing regular maintenance or tackling long-neglected surfaces, the right tools can make the process faster, easier, and more effective.
Choosing Appropriate Brushes for Grout Cleaning Without Damage
Grout lines are often the most difficult part of a tile floor to clean. Using the wrong brush can make the job harder—or worse, damage the surface. A medium-soft bristle brush is ideal for most grout lines. It’s strong enough to scrub away buildup but gentle enough not to scratch the tile or pull apart the grout.
For small, tight areas, an old toothbrush or a narrow grout brush works well. Larger grout lines or wide tile layouts may call for wider brushes or even mop-style grout tools. Look for ergonomic handles that reduce strain during extended cleaning sessions. Applying even pressure while scrubbing ensures consistent results without wearing out specific sections of the grout.
Comparing Commercial Tile Cleaners and Grout Brighteners
Not all tile and grout cleaners are created equal. Many commercial products are formulated for specific types of stains, such as grease, soap scum, or mildew. Degreasers usually contain surfactants that lift oily residues off surfaces, while brightening agents like oxygen bleach can help restore the original color of grout.
Always read the label and check if a product is designed for your specific tile type—especially if you’re working with natural stone, which can be damaged by acidic or abrasive ingredients. Before using any new cleaner, test a small, hidden area to make sure there’s no discoloration or adverse reaction. If you’re looking for a more environmentally friendly option, there are now several effective tile and grout cleaners that use plant-based ingredients or low-VOC formulas.
The Benefits of Microfiber Mops for Tile Floor Care
When it comes to day-to-day cleaning, microfiber mops stand out as a practical choice. Unlike string mops, which tend to push dirt around, microfiber mops lift and trap fine dust, hair, and debris. They also use less water and cleaning solution, making them ideal for preventing water from seeping into grout lines.
Microfiber mop pads are reusable and machine washable, which makes them more cost-effective over time. They’re also lightweight, making them easier to maneuver around furniture and into corners. Some models even come with spray attachments so you can apply cleaning solution as you go, eliminating the need for a separate bucket.
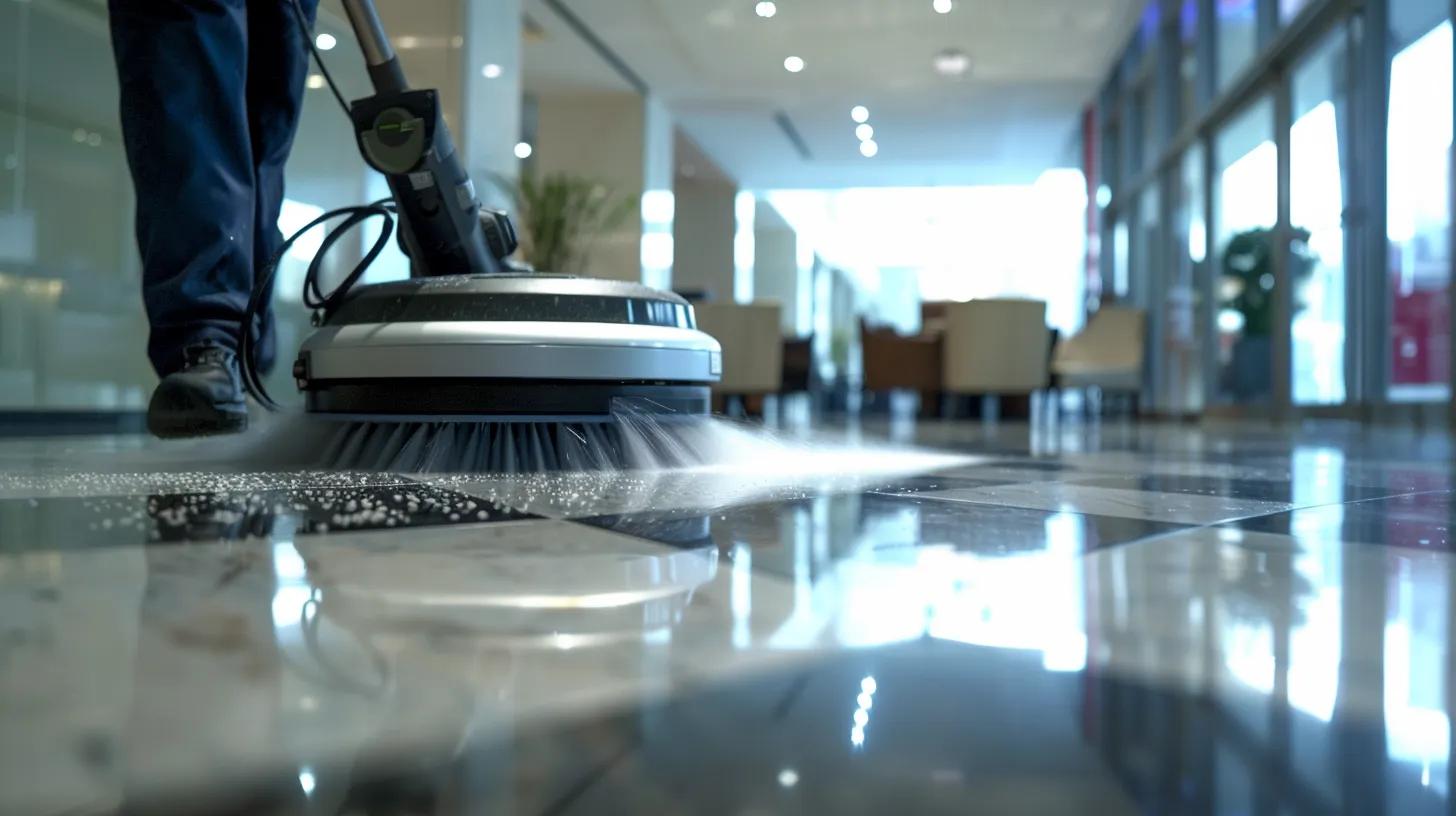
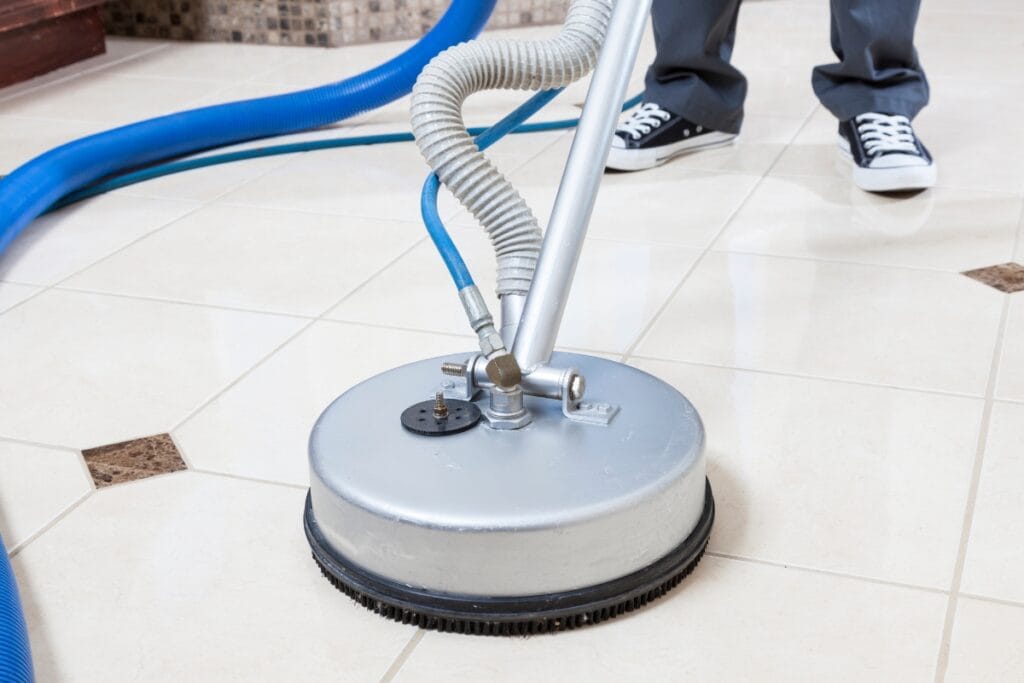
When to Consider Professional Grade Tile and Grout Cleaning Equipment
There are times when basic tools and cleaners aren’t enough. If your tile has heavy buildup, or if you’re cleaning a large space like a commercial kitchen or public restroom, professional-grade tools may be worth considering.
Steam cleaners are one of the most effective tools for deep cleaning grout. They use high-temperature steam to loosen dirt and kill bacteria without chemicals. Rotary scrubbers, which use rotating brushes, are another option for heavy-duty jobs. These machines cover more surface area quickly and can handle embedded grime in textured tile or neglected grout.
While these tools can be rented from hardware stores, they do require some experience to use properly. Improper use can lead to uneven cleaning or accidental damage, so make sure you understand the machine’s settings and limitations before starting.
Comparative Table: Tile and Grout Cleaning Tools
This table assists in selecting tools based on specific cleaning challenges, ensuring prolonged floor beauty and easier maintenance.
Frequently Asked Questions
Q: How often should I deep clean my tile and grout? A: Deep cleaning every six months to a year is generally sufficient, though high-traffic or high-moisture areas might require more frequent treatment. Routine daily and weekly cleaning helps minimize buildup between deep cleans.
Q: Can I use vinegar on all types of tile? A: Vinegar works well on ceramic and porcelain tiles but should be avoided on natural stone like granite, slate, or travertine, as its acidity can etch these surfaces. Test any cleaner on an inconspicuous spot first, or choose a pH-neutral option.
Q: What are the benefits of using a steam cleaner for grout? A: Steam cleaners use high-temperature steam to break down and remove dirt, grime, and contaminants without harsh chemicals, helping preserve the tile’s natural appearance and reducing chemical damage.
Q: How do I know when my grout needs sealing? A: Signs include visible staining, reduced water beading, and increased absorption of moisture. A quick water test will show whether water beads up or soaks in—if soaking occurs, resealing is advisable.
Q: Are professional cleaning services necessary for maintaining tile and grout? A: While regular household cleaning can be effective, professional services use advanced equipment and techniques that can restore and protect surfaces more thoroughly, which is particularly beneficial for heavily soiled or commercial areas.
Q: What should I do if home remedies do not remove a stubborn stain? A: If home remedies like vinegar or baking soda pastes are ineffective, consider consulting a professional cleaning service. They can apply specialized treatments that remove the stain and help prevent future damage.
Q: How can I prevent future stains after cleaning? A: Prevent stains by using a high-quality grout sealant, placing mats and rugs in high-traffic areas, and promptly addressing spills. Regular cleaning and periodic resealing significantly lower the risk of future staining.
Final Thoughts
Keeping your tile and grout spotless not only restores that fresh, “just-installed” look but also prevents grime buildup and extends the life of your flooring. With professional deep-cleaning services, you can maintain a vibrant, hygienic space without the elbow grease. Trust Magic Cleaning Pros to deliver exceptional results every time. Call us at 678-515-5820 or fill out our online form for a free quote, and let us bring your floors back to their brand-new brilliance!